Python
Overview
The following packages are used for this Python tutorial: gmm, gmm_d2d_registration_py, and gmm_d2d_registration_examples.
The gmm_d2d_registration_examples package contains Python scripts
for
- registering a single pair of GMMs,
- closing the loop using a pose graph,
- processing entire datasets, and
- creating GMMs using SKLearn and saving to file (used for registration)
Initialize the Python Environment
To initialize the python paths properly, you should source workon
at the top level sandbox directory.
cd gira3d-registration
source workon
Download Data
The data directory contains a script that you will need to execute
in order to download all of the data associated with this tutorial.
pip install gdown
cd gira3d-registration/data
./download.sh
The complete dataset is quite large so be prepared for this to take some time.
Registering a Pair of GMMs
Go to the gmm_d2d_registration_examples/python directory
under wet/src and run the registration_example.py file.
cd wet/src/gmm_d2d_registration_examples/python
python registration_example.py
Two figures will display. The first figure displays before registration. The second figure displays the registration result. Note: the registration result displays pointclouds (not GMMs or resampled GMMs). These figures show two views of the pointclouds before registration.
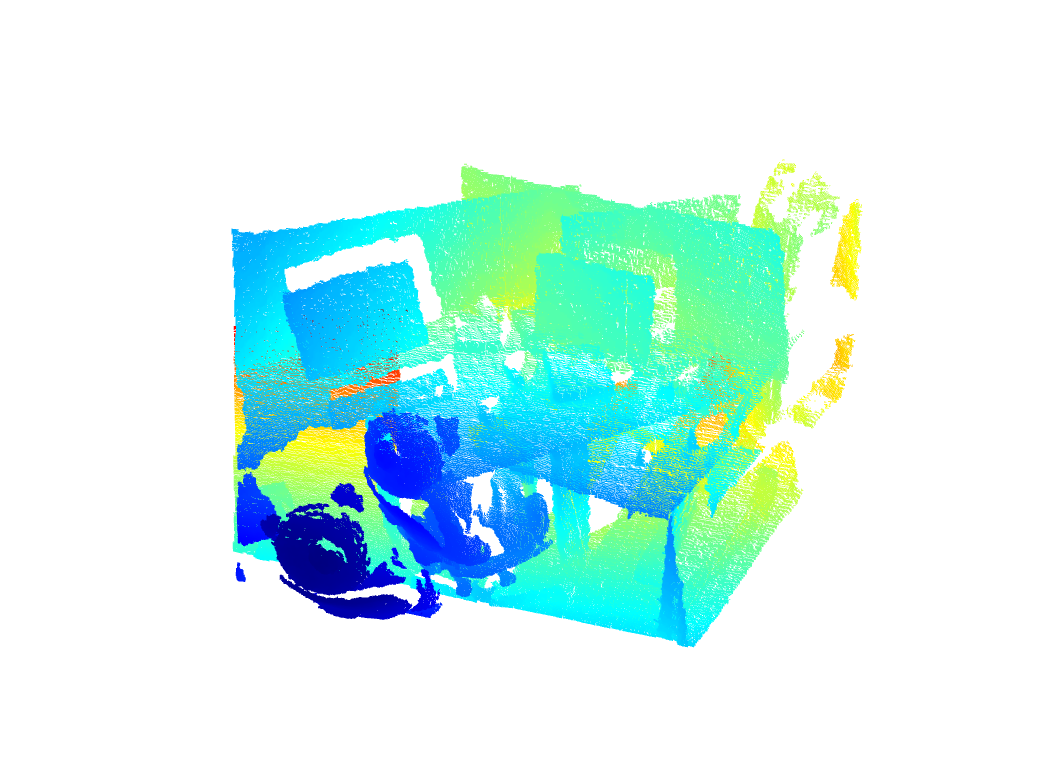 {width=50%}
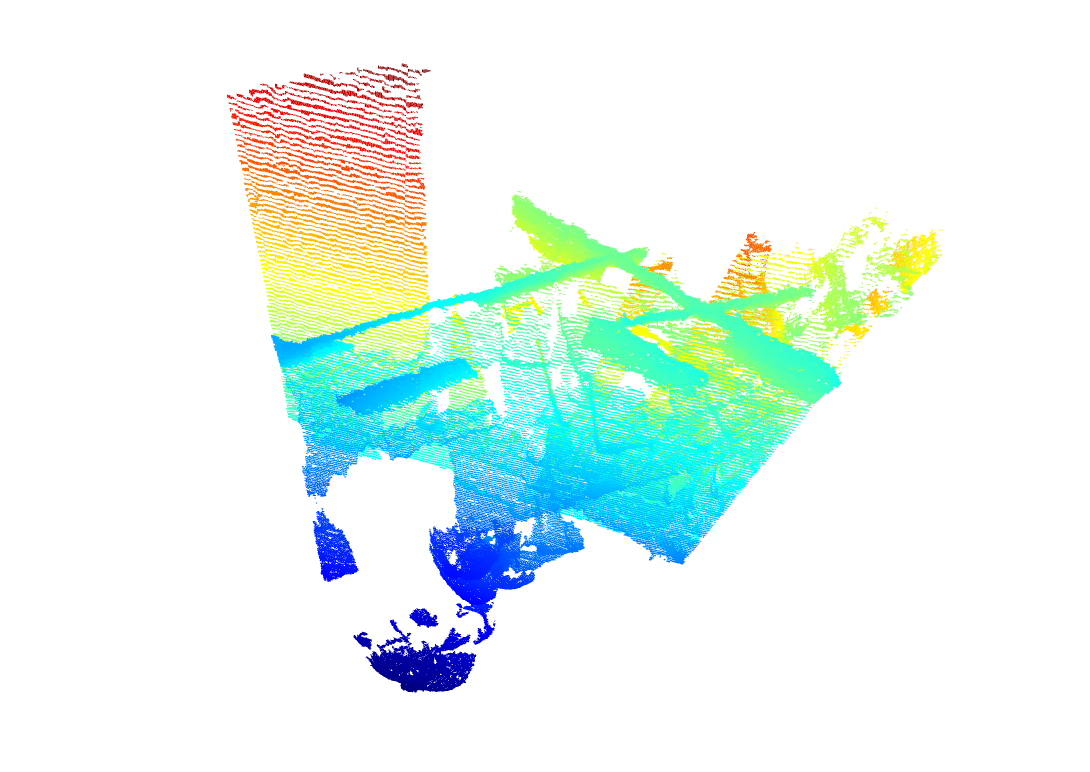 {width=50%}
And here are the results after registration. Note the lines are aligned in the below right image.
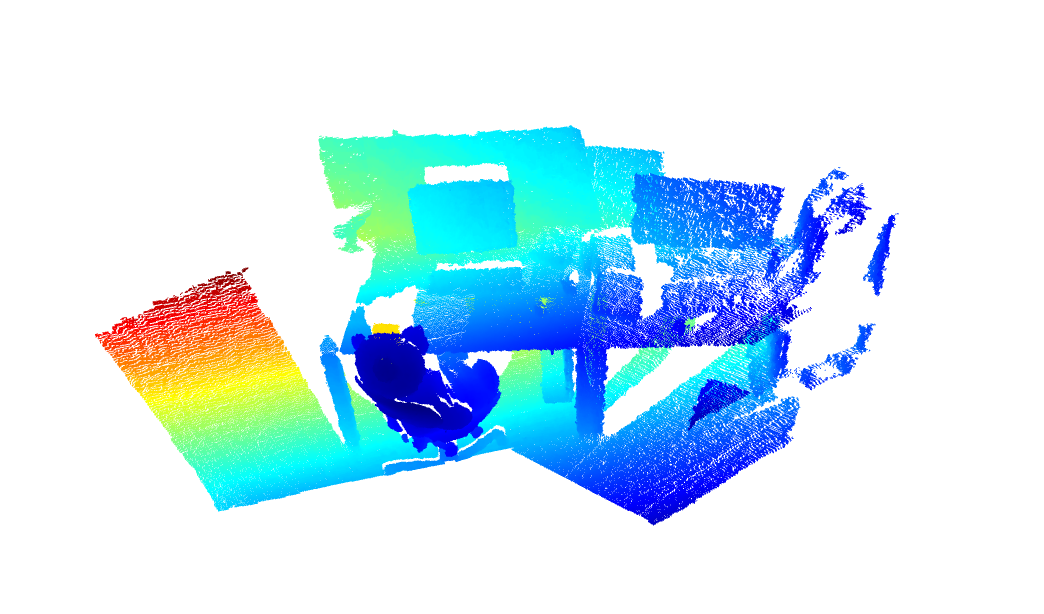 {width=50%}
 {width=50%}
Explanation of the Script
An isoplanar registration is run first:
Tinit = np.eye(4)
Tinit = gmm_d2d_registration_py.isoplanar_registration(Tinit, source_file, target_file)
Tinit is a 4x4 transformation matrix consisting of a 3x3 rotation and 3x1 translation.
Anisotropic registration may be run using the following function call:
Tout = gmm_d2d_registration_py.anisotropic_registration(Tinit, source_file, target_file)
The 3x3 rotation matrix and translation vector are extracted using:
Rotation = Tout[0:3,0:3]
translation = Tout[0:3,3]
The aligned pointclouds are displayed using Open3D.
TUM Registration
To run the full TUM registration pipeline with pre-made GMMs, you can
use the script in gmm_d2d_registration_examples/python/run_tum_dataset.py.
python run_tum_dataset.py
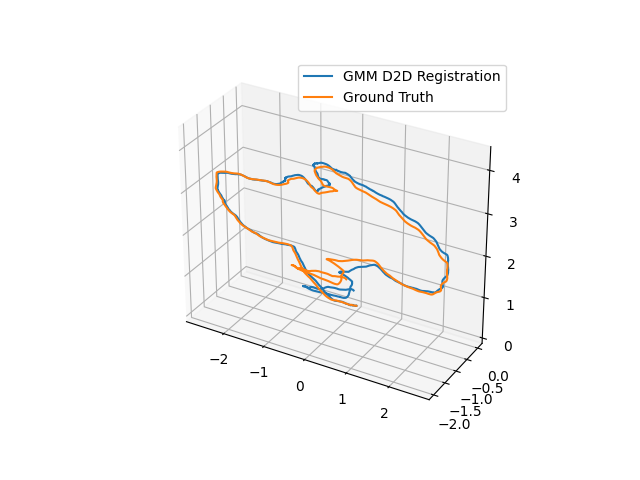
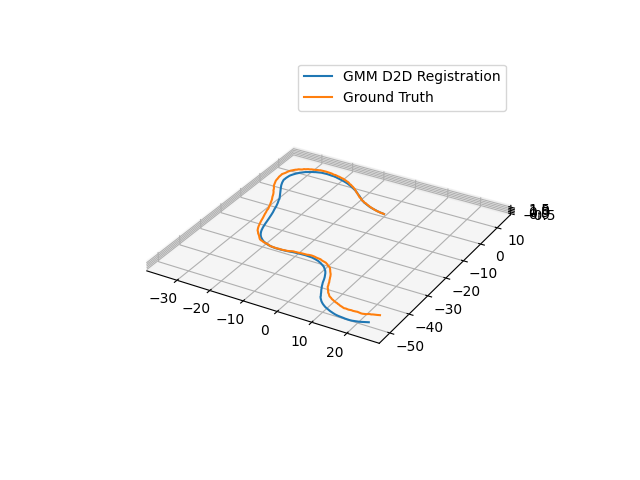
The result will be the trajectory generated from frame-to-frame registration with the ground truth plotted on top. The axes are in meters.
Cave Registration
To run the cave dataset with pre-made GMMs, you can use the script in
gmm_d2d_registration_examples/python/run_cave_dataset.py
python run_cave_dataset.py

Mine Registration
To run the cave dataset with pre-made GMMs, you can use the script in
gmm_d2d_registration_examples/python/run_mine_dataset.py.
python run_mine_dataset.py
Closing the loop and using Pose Graphs
Software is provided with an example of how to close the loop.
python pose_graph_example.py
The result will be a video that looks like the following:
where ground truth is in blue and the pose graph trajectory is shown in orange.
Creating GMMs using Sklearn
A script is provided to learn GMMs using sklearn.
In order to do so, you will need to install scikit-learn.
pip install scikit-learn
The script is provided in the
gmm_d2d_registration_example/python/utils/create_and_save_gmm_example.py script.
python create_and_save_gmm_example.py
The GMM will be saved in your current working directory. The GMMs are saved in the format used to run registration.
Operating Systems
These tutorials have been tested on the following operating systems:
- Ubuntu 18.04
- Ubuntu 20.04